
1: Login to the Droplet
We will connect to the server with the SSH key we added to the server in Step 1.
Copy your IP address we created in Step 1. You’ll find your IP address here:

Enter the command below in your Terminal, substituting the your_server_ip with the IP address of your Droplet for and {path_to_serverkey} with the file path of the private SSH key we created earlier:
$ ssh root@your_server_ip -i {path_to_serverkey}When done, it will look like this:

Hit Enter.You will be prompted to enter the passphrase we created while creating this private key. Enter the password and press Enter again. If you are in Mac, you might be prompted to type your keychain password.
If everything went right, you will be logged in to the server and it will look like this:

2. Install Unzip
We need to unzip the zip file we uploaded to the server in the previous step. To do so, we need to install Unzip in our server.
Enter the following commands in your Terminal and hit Enter:
sudo apt-get install unzip
If unzip is successful it should look like this:
3. Unzip the source code
Navigate to the html folder:
cd /var/www/html
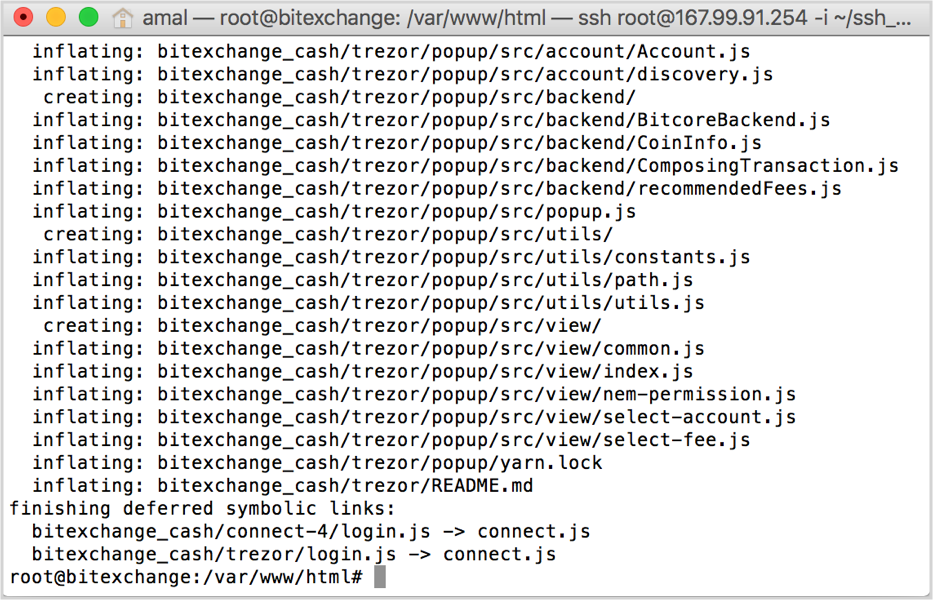
And type the unzip command in your Terminal and press Enter.
unzip bitexchange.zip
4. Move unzipped folder content to html directory
Go to unzipped folder:
cd bitexchange/
Now move all it's content to html directory:
mv * /var/www/html/
Now go into previous folder:
cd ../
You have now successfully unzipped and moved all the files to html directory.
If you are using ip address instead of domain name you can skip Points 5 to 10 given below
5. Update the default conf file
Go to the sites-available directory:
cd /etc/apache2/sites-available/
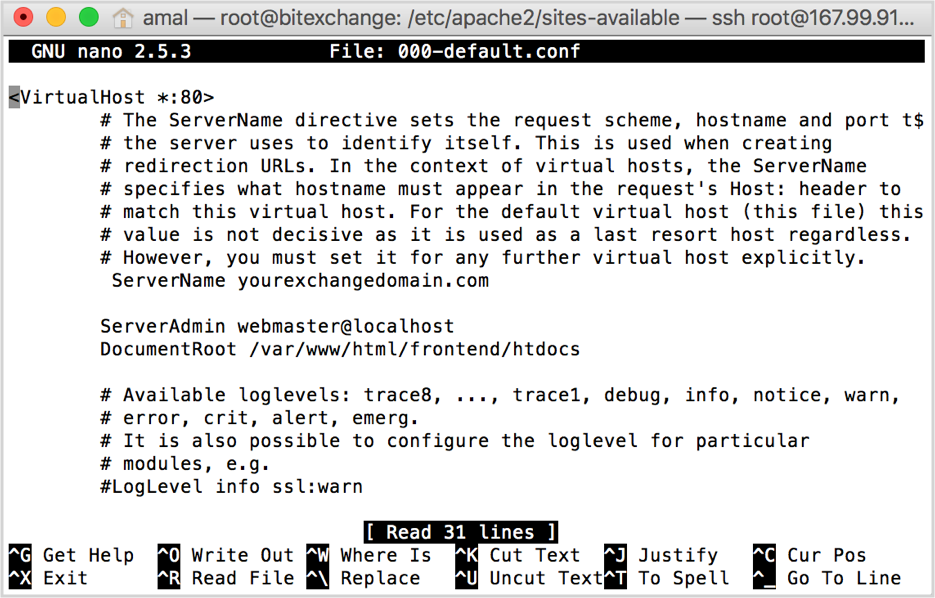
Open the 000-default.conf file:
sudo nano 000-default.conf
To edit this file you need to use the arrow keys to navigate.
In the file remove the hash symbol before ServerName and change www.example.com to yourexchangedomain.com
Then to DocumentRoot append /frontend/htdocs
When you are done, it will look like:
Save this file by pressing - Control + O .
Then press Enter .
Then press Control + X to exit.
6. Create conf files for api, admin and auth
Now we need to copy the file 000-default.conf to create virtual host for subdomains - api, admin and auth.
Type the following commands to create the files:
cp 000-default.conf api-vhost.conf
cp 000-default.conf admin-vhost.conf
cp 000-default.conf auth-vhost.conf
7. Update the api conf file
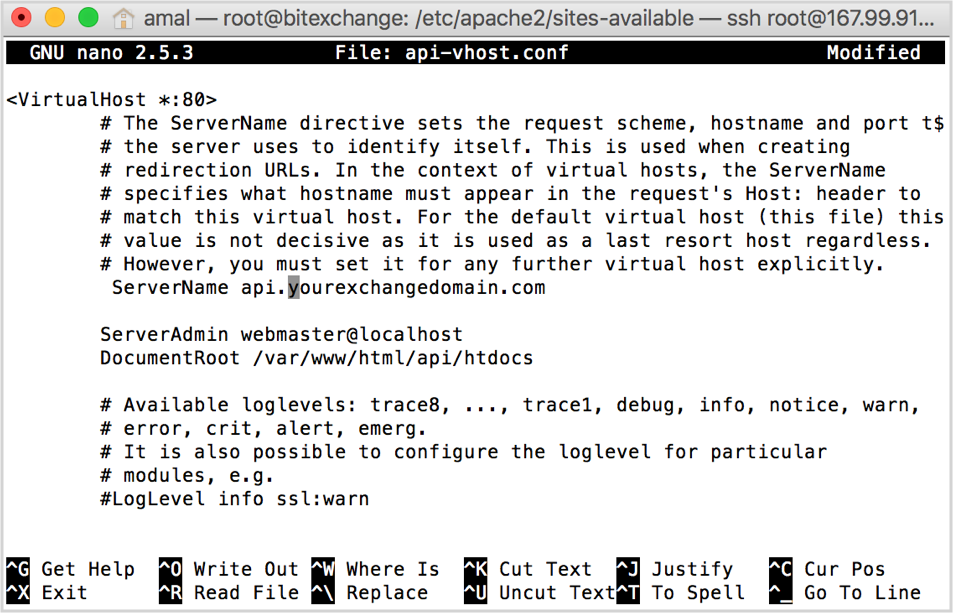
Open api-vhost conf file:
sudo nano api-vhost.conf
Change the ServerName to api.yourexchangedomain.com.
And change the DocumentRoot value to /var/www/html/api/htdocs
When you are done, it will look like:
Save this file by pressing - Control + O .
Then press Enter .
Then press Control + X to exit.
8. Update the admin conf file:
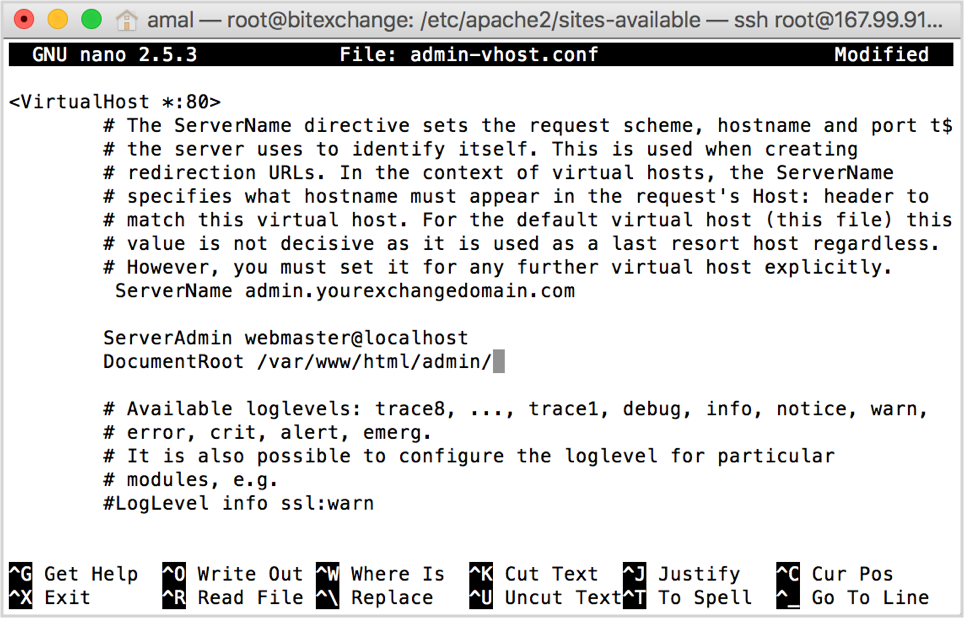
Open admin-vhost conf file:
sudo nano admin-vhost.conf
Change the ServerName to admin.yourexchangedomain.com
And change the DocumentRoot value to /var/www/html/admin/
When you are done, it will look like:
Save this file by pressing - Control + O .
Then press Enter.
Then press Control + X to exit.
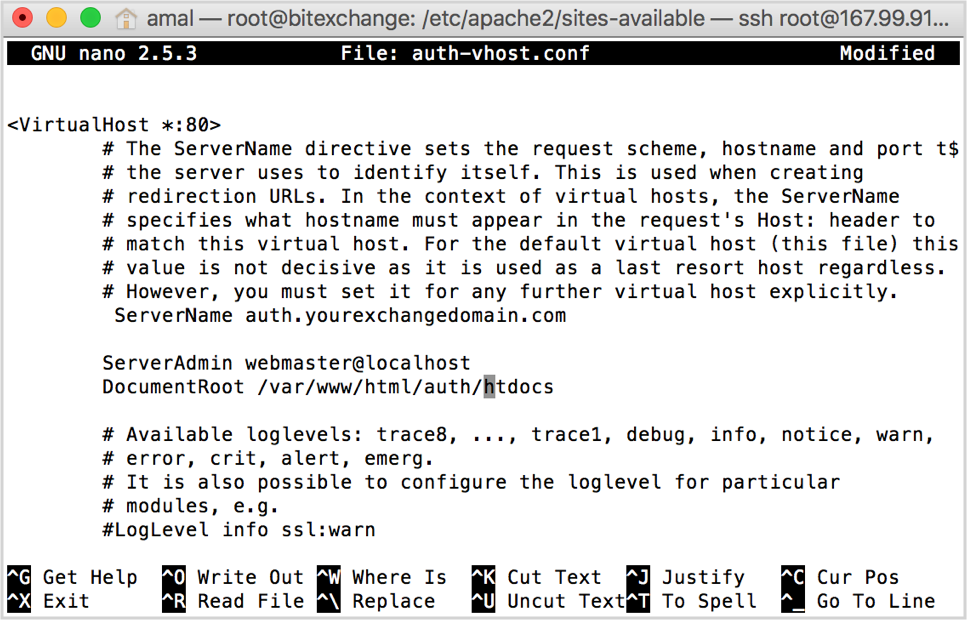
9. Update the auth conf file:
Open the auth-vhost conf file:
sudo nano auth-vhost.conf
Change the ServerName to auth.yourexchangedomain.com
And change the DocumentRoot value to /var/www/html/auth/htdocs
When you are done, it will look like:
Save this file by pressing - Control + O .
Then press Enter.
Then press Control + X to exit.
10. Enable created virtual host sites
Next step is to enable the virtual host sites we created.
Enter the following commands one by one into the terminal:
sudo a2ensite admin-vhost.conf
sudo a2ensite api-vhost.conf
sudo a2ensite auth-vhost.conf
Then restart apache. To restart type the below command and press Enter.
sudo service apache2 restart
If you reached this point with no errors, you have successfully created and enables virtual hosts. Visit Step 6: Setting up database to configure the database to work with the source code.
